
What "Reactive" means?
Reactive programming is an asynchronous programming paradigm concerned with data streams and the propagation of change.
-Wikipedia
In simple words, reactive programming means writing code that revolves around reacting to changes. It is usually achieved by virtue of events to which different components of your application can react. A succession of events is called a stream. To be able to react to an event you need to subscribe to it. Another important aspect is that the reaction itself will occur asynchronously. Here's an example: Imagine a button that needs to turn on and off a lamp.
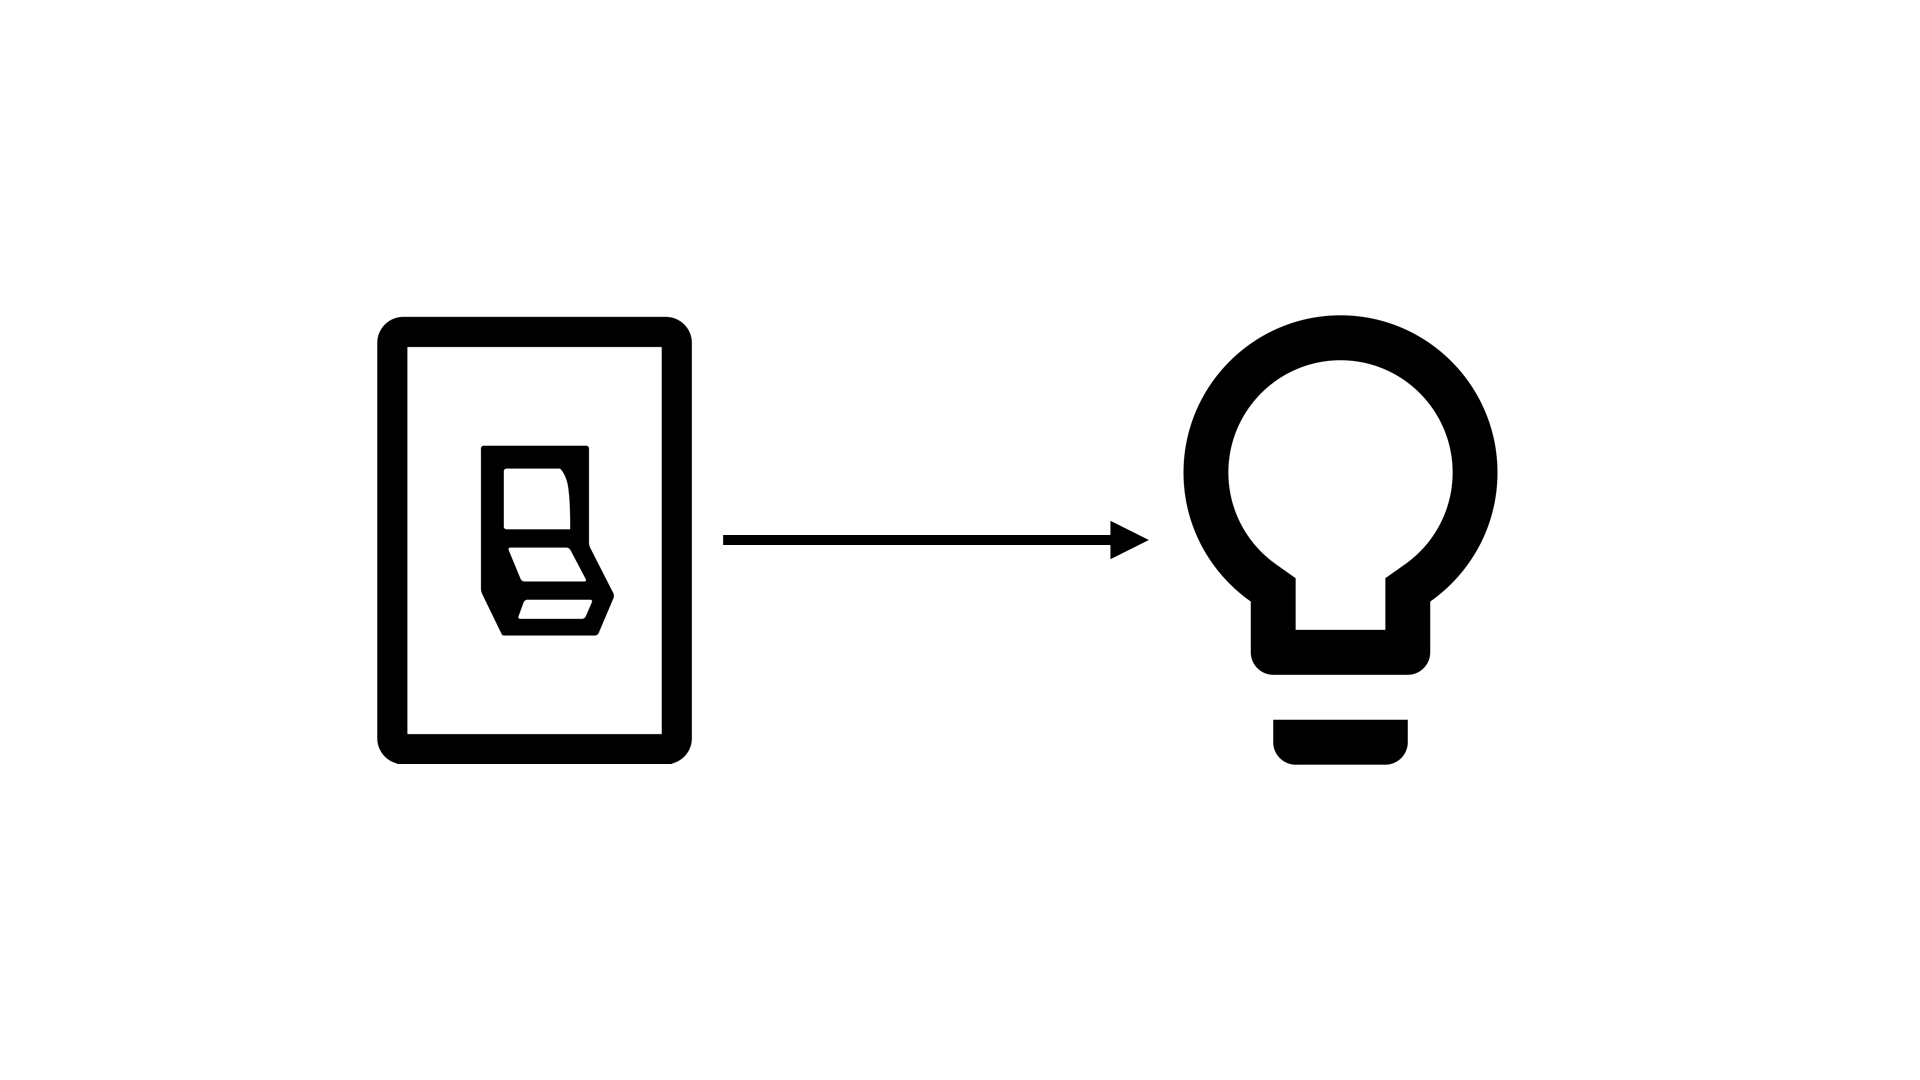
A naive solution would involve a button having a reference to a lamp and turning it on and off after being clicked. This is an example of a proactive programming. It has two big disadvantages:
- Button and lamp are tightly coupled - button must keep a reference to a lamp and button's code needs to "know" lamps API.
- Button has one narrow purpose - turning on one particular lamp.
A better solution would be a reactive approach: a button would emit buttonPressed events (event stream) and allow other entities to subscribe to those events and react accordingly. Now button's logic is separated from lamp's logic and multiple lamps can subscribe to one button.
A popular implementation of reactive programming is RX framework which is ported to many languages (Java, C++, JavaScript, .Net etc).
This article implies that you are familiar with RxJs. If you are not, consider reading about it here before continuing reading this article.
Reactive Forms in Angular
Angular's reactive forms are a new approach of getting user input. Their defining characteristic is that they are RxJs Observable based. This means that you can treat your forms as the infinite streams of data, subscribe to them or manipulate them by applying RxJs operators.
Instead of using templates to structure and verify forms, reactive forms expose so-called Reactive API available from ReactiveFormsModule.
While old-fashioned template forms are available in Angular too and they might be easier to get started with, managing big forms in templates gets cumbersome and tedious very fast.
Benefits of Reactive Forms
- Reactive forms logic is completely managed from your typescript code, while html templates are kept short and provide only markup for forms.
- Observable API allows us for easy data transformation (you can even use asynchronous services).
- Reactive forms are very unit testable, in contrast with near-impossible to test template forms.
- Scenarios like validation based on debounce time or adding form elements depending on user input are very easy to implement.
Reactive Forms API
Reactive forms API are pretty straight-forward and consists of three main components:
- FormControl
- FormGroup
- FormArray
FormControl
Form-Control is the most basic building block for reactive forms. It represents one individual input from the form, such as: text input, select, date input, etc.
It is initialized as follows:
import { FormControl } from '@angular/forms';
control: FormControl;

this.control = new FormControl('Test');
or
this.control = new FormControl({ value: 'Test', disabled: false });
First argument is control's initial state. As you can see these two ways yield identical results, but the second one allows to set the control as disabled. In addition, Form-Control constructor has an optional second parameter called Validator, but more on that later.
FormGroup
FormGroup, seemingly, groups multiple Form-Controls, so you can track and validate their values as one object.
It is initialized with an object containing child controls (or groups):
import { FormControl, FormGroup } from '@angular/forms';
topGroup: FormGroup;

this.topGroup = new FormGroup({
    control: new FormControl('Test'),
    subGroup: new FormGroup({
        first: new FormControl('first'),
        second: new FormControl('second')
    })
});
FormGroup constructor has optional second parameter Validators as well.
FormArray
FormArray functionality is similar to Form-Group, but it is organized as an array of (possibly) different Form-Controls, as opposed to predefined object in Form-Group.
Similarly to FormGroup, you pass an array of Controls, Groups or other Arrays.
import { FormControl, FormGroup, FormArray } from '@angular/forms';
array: FormArray;

this.array = new FormArray([
    new FormControl('abc'),
    new FormControl('xyz'),
    new FormGroup({
        one: new FormControl('one'),
        two: new FormControl('two')
    }),
    new FormArray([
        new FormControl('eleven'),
        new FormControl('twelve'),
    ])
]);
Another popular pattern of using FormArray is to create a new FormArray from an empty array and later populate it with FormGroups on runtime using the
pushmethod. Example:this.array.push(new FormGroup({ control: new FormControl('') }));
Getting data from the forms
There are two ways of acquiring values from our newly-created forms:
You can use value property from Controls, Groups and Arrays. For instance,
this.array.valuefrom last example would yield us something like this:[ 'abc', 'xyz', { one: 'one', two: 'two' }, [ 'eleven', 'twelve' ] ]Another way is to use
valueChangedproperty, which is a RxJs Observable, for example:this.array.valueChanged.subscribe( value => console.log(value) );This example will output the current form state every time the user changes something in the form.
Bonus: FormBuilder
FormBuilder is an additional helper class, which furthermore simplifies the creation of reactive forms. Now, instead of manually calling each constructor for FormGroup, FormArray and FormControl, you can pass a configuration object to one of the FormBuilder's methods and it will create all form components automatically:
FormBuilder.group- constructs a new FormGroupFormBuilder.array- creates a FormArrayFormBuilder.control- initializes a new FormControl (this method is almost identical to calling regular FormControl constructor and is rarely used)
To get a FormBuilder of your own you have to use Angular's Dependency Injection:
constructor(private fb: FormBuilder) {}
If you use the keyword private in constructor parameters, the parameter will automatically become a class member, so the code above is equivalent to:
     private fb: FormBuilder;
  constructor(private fb: FormBuilder) {
    this.fb = fb;
  }
Binding to template
By this time, you should be able to make your own forms in Typescript code. However, how do we define which DOM nodes will those form objects refer to?
Well, there are two ways to do that:
FormControlDirective
First method is applicable, when you need to bind a single FormControl to a single Html element:
Code:
singleForm: FormControl = new FormControl('');
Template:
<input type="text" [FormControl]="singleForm">
FormGroup, FormGroupName, FormControlName, and FormArrayName
This method is used for a more complex form with nested controls, groups and arrays. Example:
Code:
complexForm = new FormGroup({
    first: new FormControl(''),
    second: new FormGroup({
        one: new FormControl(''),
        two: new FormArray([
            new FormControl(''),
            new FormControl(''),
            new FormControl(''),
        ])
    })
});
Template:
<form [formGroup]="complexForm">
  <h2>Form example</h2>
  <input type="text" formControlName="first" >
  <div formGroupName="second">
    <input type="number" formControlName="one">
    <div formArrayName="two">
      <input type="number" formControlName="0">
      <input type="number" formControlName="1">
      <input type="number" formControlName="2">
    </div>
  </div>
</form>
Notice that FormGroup and FormControl are binding to actual FormGroup and FormControl objects from component class, while FormControlName, FormArrayName and FormGroupName just reference subcomponents of their parent form elements by their name (as a string).
Also, FormArray subcomponents are named after their indexes.
Validation
Angular provides simple, yet powerful validation API, which allows for both regular and async validation. Most common types of validation are already available in the form of built-in validators.
Built-in Validators
All built-in validators are available as static members of Validators class.
import { Validators } from '@angular/forms';
The most common are:
min/max- requires controls to have greater/smaller value than a numberminLength/maxLength- same as above, but instead of comparing the value itself, it compares its lengthrequired- requires control to have any valuerequiredTrue- requires that the control's value to be trueemail- checks if the value is a valid email addresspattern- matches a value against a regex pattern
To use validators you need to pass them as the second parameter of form control's constructor.
new FormControl(1, [Validators.min(1), Validators.max(4)]);
new FormGroup({ ... }, [Validators.required]);
Note, that some validators have required parameters and should be passed as function calls (
Validators.min(1)for example). These include:min,max,minLength,maxLengthandpattern. All other validators are passed just by their name (likeValidators.required).
Custom Validators
At its heart, a validator is just a function that takes a Control and returns either "null" when it’s valid, or error object if it’s not. In addition, you can wrap it in a factory function to initialize it with different parameters.
This example validates username inputs and checks if the username is not forbidden. It is initialized with a list of forbidden usernames.
export function allowedUsername(forbiddenUsernames: string[]): ValidatorFn {
  return (control: AbstractControl): {[key: string]: any} => {
    const forbidden = forbiddenUsernames.includes(control.value);
    return forbidden ? {'forbiddenUsername': {value: control.value}} : null;
  };
}
Usage:
new FormControl('Test', allowedUsername(['Bob', 'Rob', 'Peter']));
Here is a live version of this validator (invalid names are: Bob, Rob and Peter):
Conclusion
This about wraps it up for our introduction to Angular's reactive forms. Although this is not a complete reference to Angular reactive forms, it covers the most common use-cases. To find out more, visit Angular's documentation.